In today’s digital landscape, GIF animations have become an essential form of expression, enhancing communication and artistic creativity. Exploring How to Animate a Simple GIF in Procreate opens up a world of possibilities for artists and designers alike, allowing them to breathe life into their illustrations with ease. Procreate, a powerful tool favored by many, offers a plethora of features tailored specifically for animation, making it ideal for both beginners and seasoned creators.
This guide will walk you through the foundational steps of setting up Procreate for animation, designing frames, utilizing Animation Assist, exporting your work, and implementing creative techniques to elevate your GIFs. Each segment aims to ensure a smooth learning experience, empowering you to create captivating animated masterpieces.
Introduction to GIF Animation in Procreate
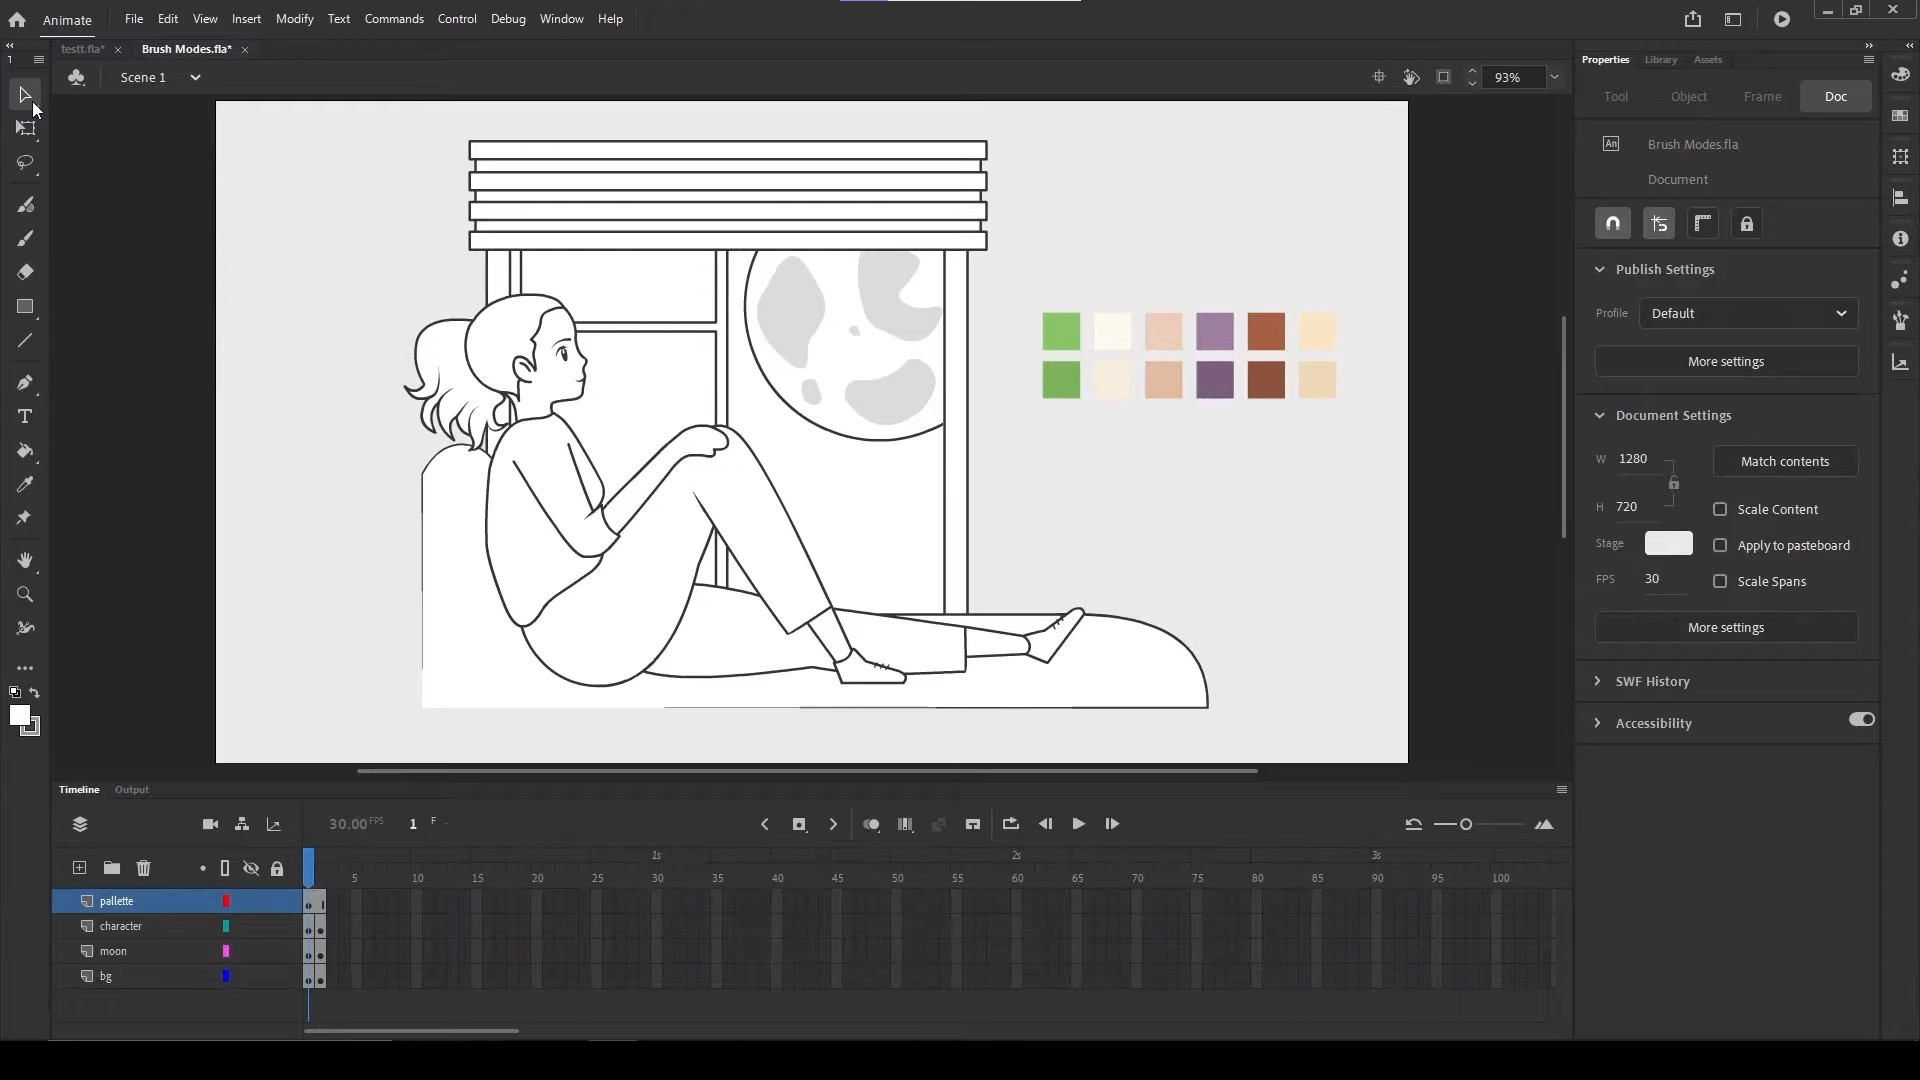
GIFs, or Graphics Interchange Format images, have become a pivotal mode of expression in the realm of digital art and communication. Their ability to convey emotions, humor, and ideas in a concise, looped format makes them an essential tool for artists and marketers alike. The animated nature of GIFs allows for a dynamic portrayal of concepts that static images cannot achieve, thereby enhancing user engagement on social media and various digital platforms.Procreate stands out as a powerful tool for creating GIF animations due to its user-friendly interface and advanced features tailored for artists.
This application offers a robust platform for both beginners and seasoned professionals to bring their illustrations to life through animation. With its wide range of brushes, layers, and customizable settings, Procreate allows users to experiment with their creativity while producing high-quality animations that can be easily exported as GIFs.
Key Features That Facilitate Animation in Procreate
Understanding the features of Procreate that are specifically designed for animation is crucial for maximizing the potential of GIF creation. The following attributes play a significant role in the animation process:
- Animation Assist: This feature simplifies the animation workflow by providing a timeline and onion skinning options, allowing artists to preview their animations in real-time and make adjustments accordingly.
- Layer Management: Procreate allows for an extensive use of layers, which enables artists to create complex animations by separating different elements of their artwork. Each layer can represent a different frame, facilitating fluid transitions and movements.
- Custom Brushes: The application supports a variety of brushes that can be tailored for animation, enabling unique styles and effects that enhance the visual appeal of GIFs.
- Export Options: Procreate provides straightforward export options, including the ability to save animations directly as GIFs, ensuring that the final product is ready for immediate sharing across various platforms.
- Time-lapse Recording: This feature allows artists to record their entire drawing process, which can be beneficial for creating tutorials or for documenting the evolution of an animated piece.
These features collectively empower artists to explore the world of animation with ease, making Procreate a preferred choice for many in the digital art community.
Setting Up Your Procreate for Animation
Setting up your Procreate application for animation is essential for creating smooth and engaging GIFs. This process involves configuring a new canvas and optimizing your workspace to ensure easy access to all necessary tools. By following these steps, you will be well-prepared to produce vibrant and dynamic animations.To create an effective canvas for GIF animation in Procreate, you should take the following steps:
Creating a New Canvas for GIF Animation
Establishing a new canvas specifically for GIFs is a fundamental step in your animation process. This ensures that your artwork is optimized for the format you intend to create. Here are the recommended steps to follow:
- Open Procreate and tap on the “+” icon to create a new canvas.
- Choose a custom size for your canvas; a common size for GIFs is 600 x 600 pixels, which balances quality and file size.
- Set the DPI (dots per inch) to 72, which is sufficient for GIFs and helps keep the file size manageable.
- Ensure that the background is transparent if you do not want a solid color background in your GIF.
Organizing the Workspace for Animation Tools
Optimizing your workspace allows for seamless animation creation, enabling quick access to tools and features. Here are some suggestions:
- Enable the Animation Assist feature by going to Actions (wrench icon) > Canvas > Animation Assist.
- Pin your frequently used brushes and colors in the sidebar for easy access during the animation process.
- Create a folder for your animation layers to keep them organized and easily manageable.
- Familiarize yourself with the Animation Timeline by tapping on the Animation Assist button, which provides a clear view of your frames.
Recommended Settings for Frame Rate and Canvas Size
Creating GIFs requires careful attention to settings such as frame rate and canvas size to achieve the desired animation effect. Here are the essential settings to consider:
- Set the frame rate to 10-15 frames per second (FPS) for smooth animation without excessive file sizes.
- Keep your canvas size at 600 x 600 pixels for a good visual quality while keeping the file size reasonable.
- Consider limiting the number of frames to under 30 to maintain an optimal balance between animation fluidity and file size.
“The key to effective GIF animation lies in balancing frame rate and size to ensure quality and performance.”
Designing Your Animation Frames
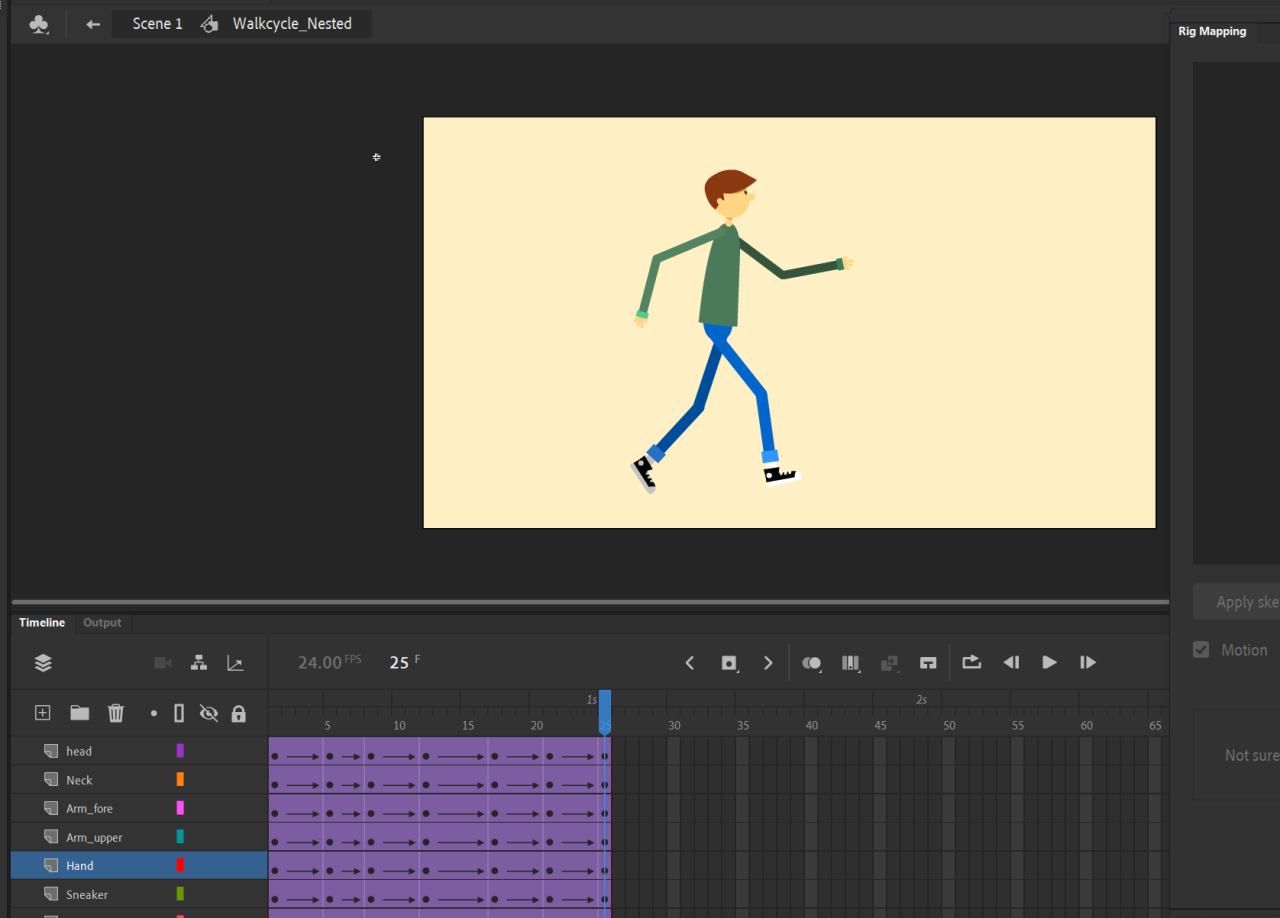
Creating effective animation frames is crucial in ensuring a smooth and visually appealing GIF. The initial frame sets the stage for the entire animation, while subsequent frames build upon this foundation to produce fluid motion. A thoughtful design process can greatly enhance the overall quality and impact of your animated piece.When sketching the initial frame, it is essential to consider the key elements that will capture the viewer’s attention.
This may include defining the main subject, establishing a background, and determining the overall composition. The initial frame should clearly convey the action or emotion you want to express in the animation. A well-defined first frame serves as a reference point for the following frames and helps maintain consistency throughout the animation.
Techniques for Designing Subsequent Frames
To achieve smooth animation, it is important to apply various techniques when designing subsequent frames. These techniques can help create a sense of movement and continuity. Below are several methods to consider while developing your frames:
- Onion Skinning: This technique involves displaying a faded version of the previous frame alongside the current frame. It allows you to visualize the transition and make necessary adjustments to create fluid motion.
- Staging: Ensure that each frame clearly defines the position and movement of elements. This involves planning out the key poses and transitional frames that connect them, giving a sense of progression in the animation.
- Timing: Adjust the timing for each frame to create dynamic motion. Faster movements may require fewer frames, while slower actions benefit from more frames to enhance smoothness.
- Consistency: Maintain consistency in proportions, colors, and styles across frames. This enhances the cohesiveness of the animation and ensures that viewers can easily follow the action.
- Utilizing Motion Blur: Adding slight motion blur to fast-moving elements can help smooth out the animation and make it feel more realistic. This effect can be created in Procreate by slightly blurring the edges of the moving objects.
The use of layers in Procreate is vital for organizing different elements of your animation. Layers allow you to separate various components, such as backgrounds, characters, and special effects. This separation facilitates easier adjustments and modifications, enabling you to focus on individual elements without affecting the entire composition. By employing layers, you can also create more complex animations. For instance, if you want an object to move in relation to a character, having each on separate layers allows for precise control over their interactions and movements.
This organization not only streamlines the animation process but also enhances your ability to iterate on designs and make improvements efficiently.
“Effective layering in animation allows for better organization and greater creative flexibility.”
Utilizing Animation Assist in Procreate
Animation Assist is a powerful feature within Procreate that streamlines the process of creating animations. By leveraging this tool, artists can enhance their workflow, make precise adjustments, and achieve desired effects with greater ease. This section will guide you through activating and utilizing Animation Assist, outlining its advantages for timing and frame management, and providing tips for effective animation previewing.
Activating Animation Assist
To begin utilizing Animation Assist, it is essential to activate this feature within your Procreate workspace. Follow these steps to enable Animation Assist:
- Open your Procreate project where you have created your animation frames.
- Tap on the wrench icon in the top-left corner to access the Actions menu.
- Navigate to the “Canvas” option in the menu.
- Toggle on the “Animation Assist” option to activate it.
- Once enabled, a timeline will appear at the bottom of your canvas, showcasing your frames for easy navigation and management.
This feature significantly enhances your ability to manage frames and timing, making animation creation more intuitive.
Advantages of Animation Assist
Using Animation Assist provides several benefits that facilitate a smoother animation process. The key advantages include:
Frame Management
Animation Assist allows you to view and organize all your frames in one place, making it easier to rearrange or duplicate frames as needed.
Timing Control
You can set the delay between frames, ensuring that your animation plays at the desired speed. This is particularly useful for achieving specific timings for effects or actions within the animation.
Layer Visibility
The feature lets you toggle visibility for different layers, helping you focus on specific elements of your animation while working.
Adjusting Timing and Previewing Animations
Effectively adjusting the timing of your frames and previewing your animations is crucial for achieving the desired outcome. Here are some strategies to optimize this process:
To adjust the timing:
- Select the frame you wish to modify in the Animation Assist timeline.
- Tap on the frame to access the Delay settings.
- Enter a value in milliseconds to specify how long each frame should appear. For example, a delay of 100ms will create a quicker animation, while 500ms will result in a slower pace.
For effective previewing:
- Utilize the Play button in the Animation Assist timeline to preview your animation in real-time.
- Adjust the frame delays as needed based on your preview, ensuring that the animation flows smoothly and meets your creative vision.
- Utilize the Loop option to continuously play your animation, allowing you to see the overall effect without interruptions.
By mastering these aspects of Animation Assist in Procreate, artists can refine their animations and produce high-quality visual content efficiently.
Exporting Your GIF Animation
After completing your animation in Procreate, the next essential step is to export your work as a GIF. This process enables you to share your animated creations seamlessly across various platforms, enhancing your digital portfolio or social media presence. Understanding the export settings is crucial for maintaining the quality of your animation while keeping the file size manageable.To export your animation as a GIF in Procreate, start by navigating to the Actions menu.
From there, select the “Share” option, and then choose “Animated GIF.” This initiates the export process, allowing you to set specific parameters for your GIF. It’s important to consider the size and quality settings to ensure your animation appears vibrant and fluid without becoming excessively large, which could hinder sharing capabilities.
Settings for Quality and File Size
When exporting your GIF, several settings must be taken into account to balance visual fidelity and file size. Adjusting these options can significantly influence how well your animation performs on different platforms.
- Frame Rate: Opt for a frame rate of 10 to 15 frames per second for smooth movement. Higher rates can increase file size.
- Resolution: Choose a resolution appropriate for your intended use. A higher resolution provides better detail, while a lower resolution reduces file size.
- Looping Options: Select whether you want your GIF to loop infinitely or play a limited number of times, as this affects file size.
- Compression Settings: Use compression tools if necessary, but be cautious, as aggressive compression can lead to loss of quality.
Common Formats and Resolutions
Different platforms may have specific requirements for GIF formats and resolutions. To ensure compatibility and optimal visual experience, consider the following:
- Social Media: Most platforms like Instagram and Twitter support GIFs with a resolution of 1080×1080 pixels.
- Web Usage: For websites, GIFs at 720×720 pixels are often sufficient for maintaining quality while optimizing load times.
- Email Marketing: Use smaller GIFs, around 480×480 pixels, to ensure fast loading and better recipient engagement.
- Presentations: For slide shows, a resolution of 1280×720 pixels is ideal for clarity on larger displays.
“Choosing the right export settings is vital for ensuring your GIF not only looks great but is also practical for sharing across various platforms.”
Creative Techniques for Enhancing GIFs
Enhancing the visual appeal of GIFs involves a thoughtful application of color palettes, textures, and effects that create a dynamic viewing experience. These creative techniques can significantly elevate the quality of your animations, making them more engaging and memorable for your audience.One of the foundational aspects of visually striking GIFs is the strategic use of color palettes and textures. By selecting a cohesive color palette, animators can evoke specific emotions and themes.
Textures, whether they are smooth, rough, or patterned, add depth and dimension, making animations more tangible. Incorporating these elements can transform a simple animation into a captivating piece of art.
Incorporating Visual Effects
Incorporating visual effects can dramatically improve the overall presentation of your GIFs. Below are several methods to enhance your animations through effects.
- Motion Blur: This effect mimics the way objects appear when they move quickly, adding a sense of velocity and fluidity. In Procreate, this can be achieved by applying a blur effect to your frames, which can simulate realistic movement.
- Overlays: Adding overlay effects, such as light flares or textures, can introduce complexity and visual interest. These overlays can serve as a background or as an accent, enriching the overall look of the animation.
- Color Adjustments: Tweaking brightness, contrast, and saturation can help certain elements stand out or blend seamlessly into the background. Gradual transitions in these settings can also enhance the animation’s flow.
Using Loops and Transitions
The structure of loops and transitions is crucial in making animations feel seamless and professional. A well-thought-out loop can create an immersive experience for the viewer.
- Seamless Loops: Creating a loop that flows naturally without noticeable jumps can enhance the viewer’s experience. This often involves careful planning of the first and last frames to ensure they match perfectly.
- Dynamic Transitions: Transition effects, such as fades or wipes, can make the shift between different scenes or frames less abrupt. This smooths out the viewing experience and keeps the audience engaged.
- Rhythmic Timing: Adjusting the timing of frames based on the intended rhythm adds a layer of engagement. This can align visual cues with sound or thematic elements, creating a more harmonious animation.
Showcasing Your GIF Creations
Showcasing your GIF creations is an essential step in gaining visibility and recognition for your artistic efforts. By sharing your work on various platforms and utilizing effective strategies, you can reach a broader audience and engage with fellow artists and enthusiasts. This section focuses on the best platforms for showcasing your GIFs, optimizing them for social media engagement, and building an audience around your unique animations.
Platforms and Websites for Sharing GIFs
Various platforms are available for sharing your GIF animations, each catering to different audiences and engagement styles. Below are some popular options:
- Giphy: A leading platform for GIFs, Giphy allows you to upload and share your animations, making them easily accessible for users and businesses alike.
- Tenor: Similar to Giphy, Tenor is a popular GIF-sharing platform that enables users to create, share, and discover GIFs across multiple messaging apps.
- Instagram: Instagram is highly visual and supports GIFs through video formats or by using third-party GIF libraries.
- Twitter: This platform allows users to share GIFs directly in tweets, making it an excellent channel for quick engagement.
- Facebook: Facebook supports GIFs in posts and comments, providing a way to reach friends and followers.
- Reddit: Subreddits dedicated to animation or specific interests can serve as excellent communities for sharing your GIFs and receiving feedback.
Optimizing GIFs for Social Media Posting
To ensure your GIFs are well-received on social media, it is crucial to optimize them appropriately. Here are key points to consider:
- File Size: Keep your GIFs under 5MB for faster loading times, ensuring users can view them quickly without hassle.
- Resolution: Use a resolution that balances quality and file size; ideally, 480p or 720p is sufficient for social media platforms.
- Engaging Content: Create GIFs that are visually captivating and relevant to current trends or popular topics to capture viewer attention.
- Branding: If applicable, subtly include your logo or watermark to increase brand visibility without overwhelming the animation.
- Captions: Add concise and clear captions where necessary to enhance the context of the GIF, making it relatable and understandable.
- Testing: Preview your GIFs on different devices and platforms to ensure they appear as intended before sharing widely.
Strategies for Building an Audience Around GIF Animations
Building an audience for your GIF animations requires consistent effort and strategic engagement. Consider the following approaches:
- Engagement: Interact with your followers and other creators by liking, commenting, and sharing their work, fostering a supportive community.
- Hashtags: Utilize relevant hashtags to improve discoverability, categorizing your GIFs for users interested in specific themes or styles.
- Collaborations: Partner with other artists or brands to reach new audiences and introduce your work to their followers.
- Regular Posting: Maintain a consistent posting schedule to keep your audience engaged and looking forward to your creations.
- Contests and Challenges: Participate in or host GIF animation contests to create excitement and encourage interaction from a larger audience.
Building a devoted audience involves creating engaging content, interacting authentically, and leveraging community platforms effectively.
Final Thoughts
In conclusion, mastering the art of GIF animation in Procreate not only enhances your creative repertoire but also allows you to share your unique vision with a broader audience. By following the structured steps Artikeld in this guide, you can confidently create engaging animations that resonate with viewers on various platforms. Remember, the journey of animation is as rewarding as the final product, so immerse yourself in the process and enjoy every moment of creativity.